


Key Steps in the Installation Process
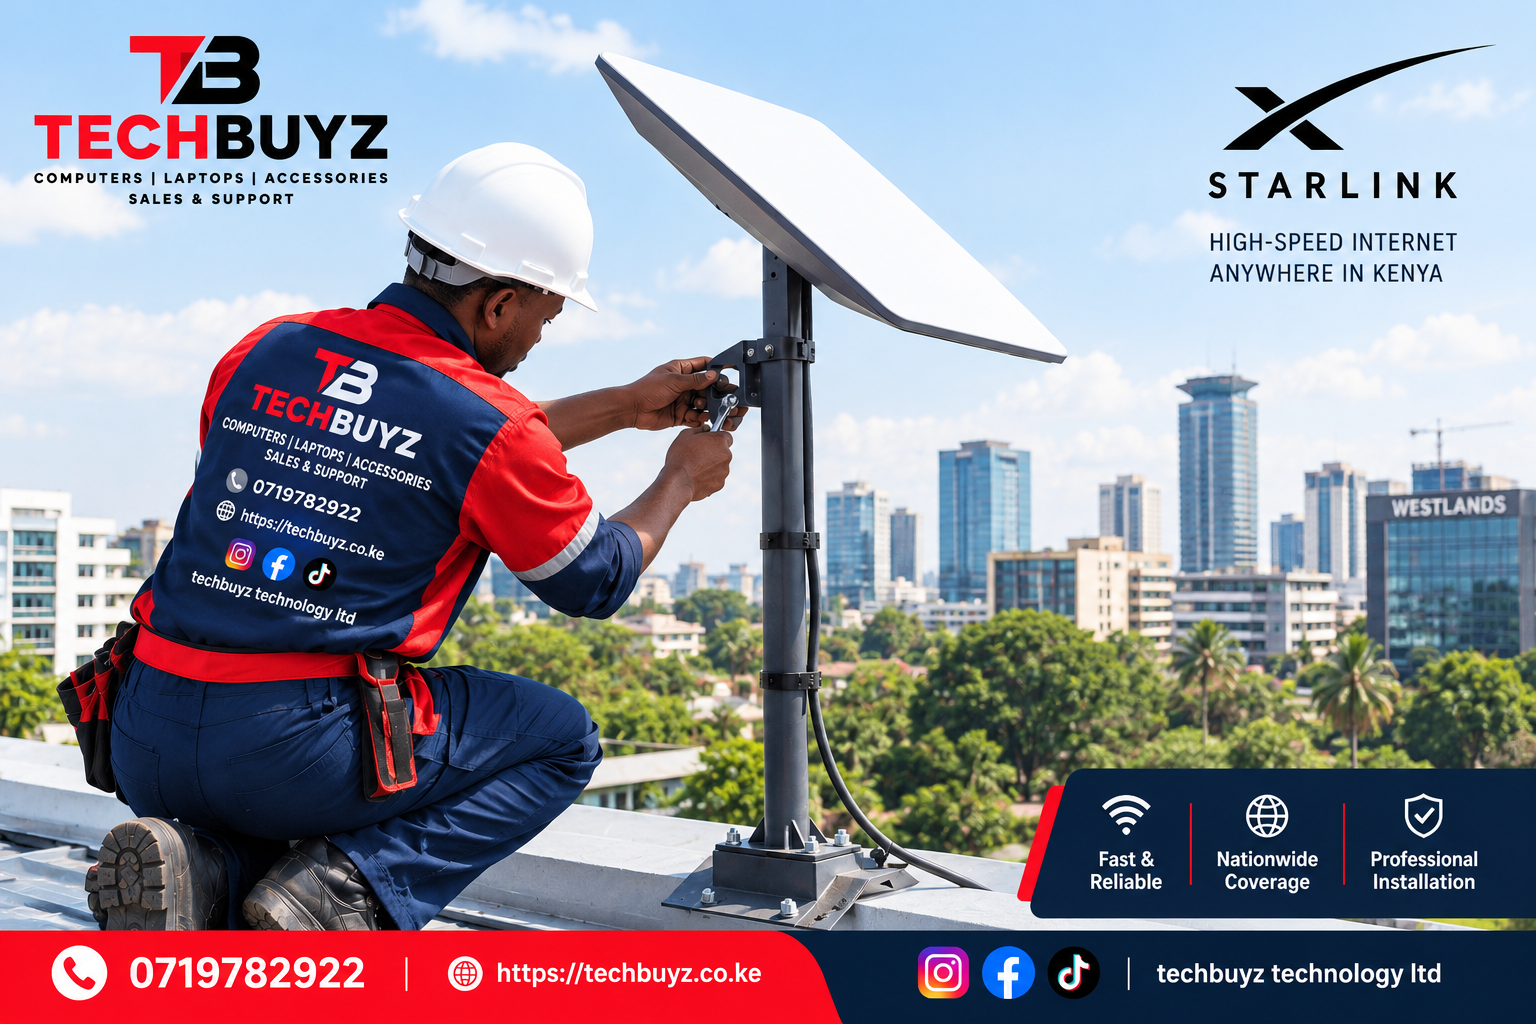
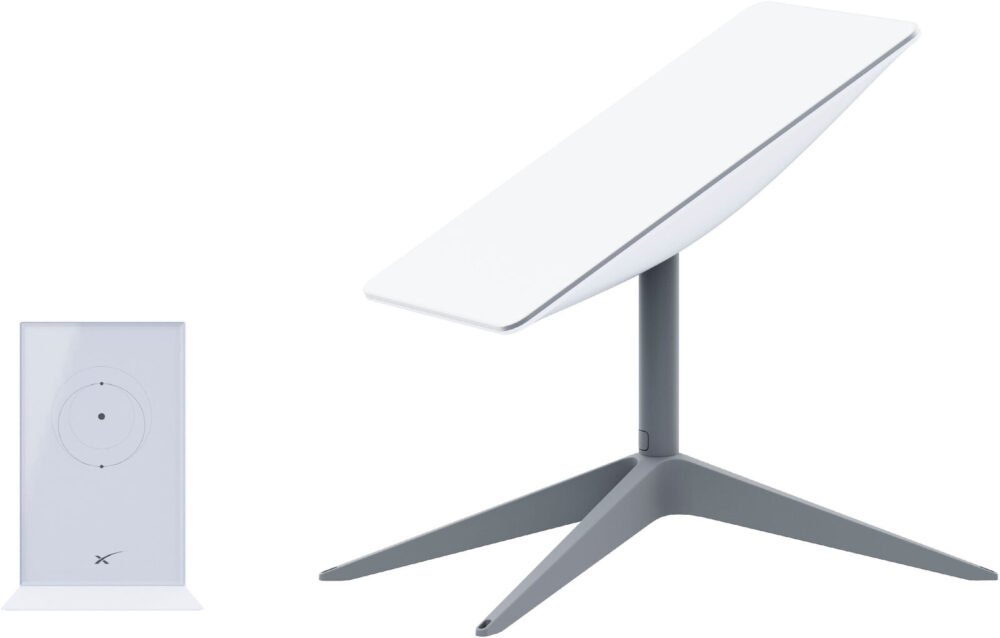
- Site Assessment: Technicians use the Starlink app to scan your property and find a location with a clear, unobstructed view of the sky.
- Mounting Selection: They determine and install the right hardware mount (such as roof, wall, pole, or non-penetrating brackets) based on your building’s structure.
- Dish Alignment & Mounting: The technician physically secures the satellite dish; the system then automatically self-levels and tracks overhead satellites.
- Cable Routing: They run the 15-meter (50 ft) Starlink cable (or longer extensions if needed) from the dish into your building, neatly drilling and sealing entry points.
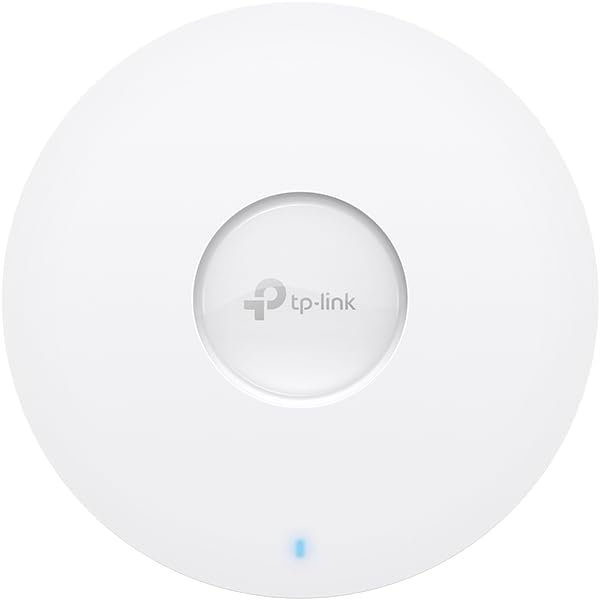
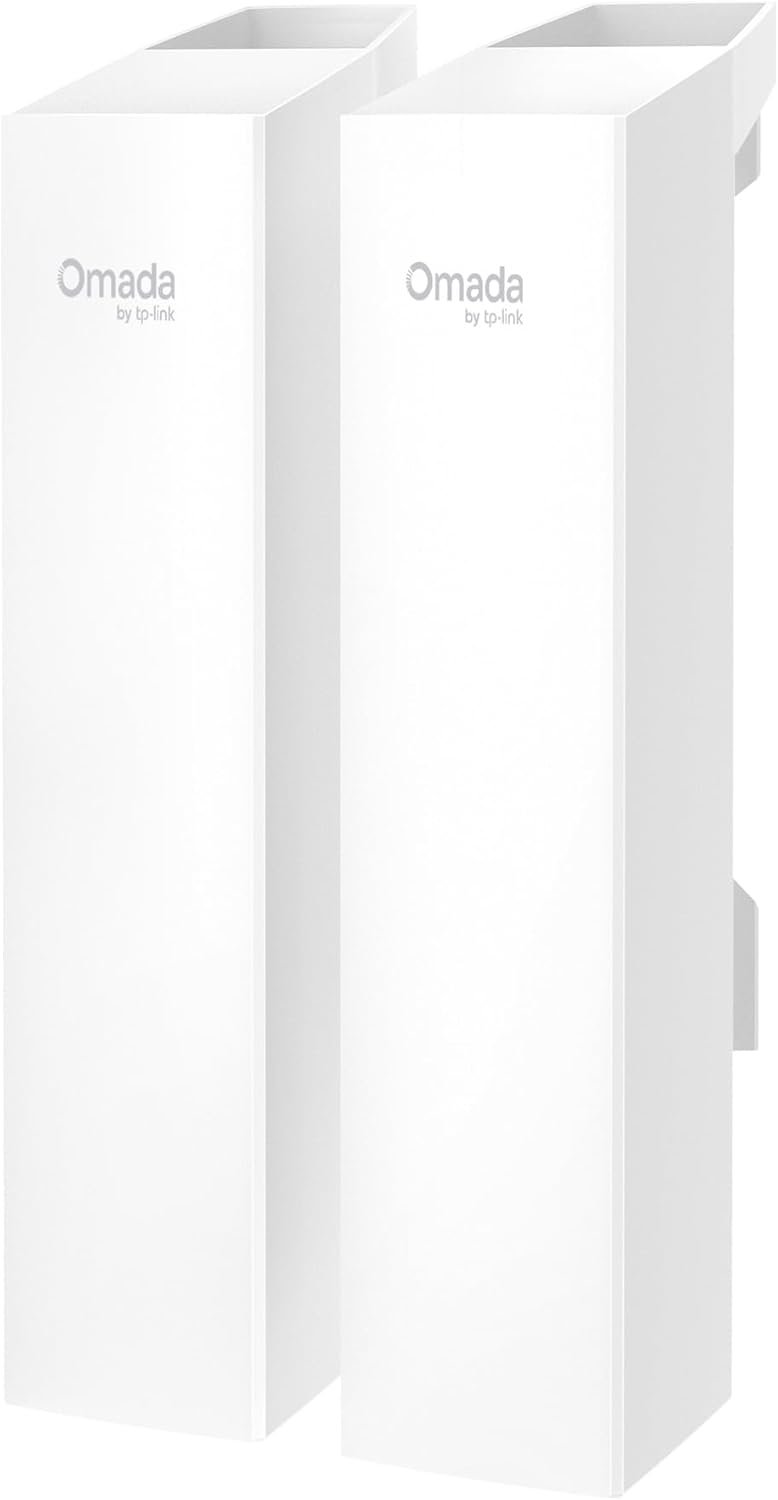
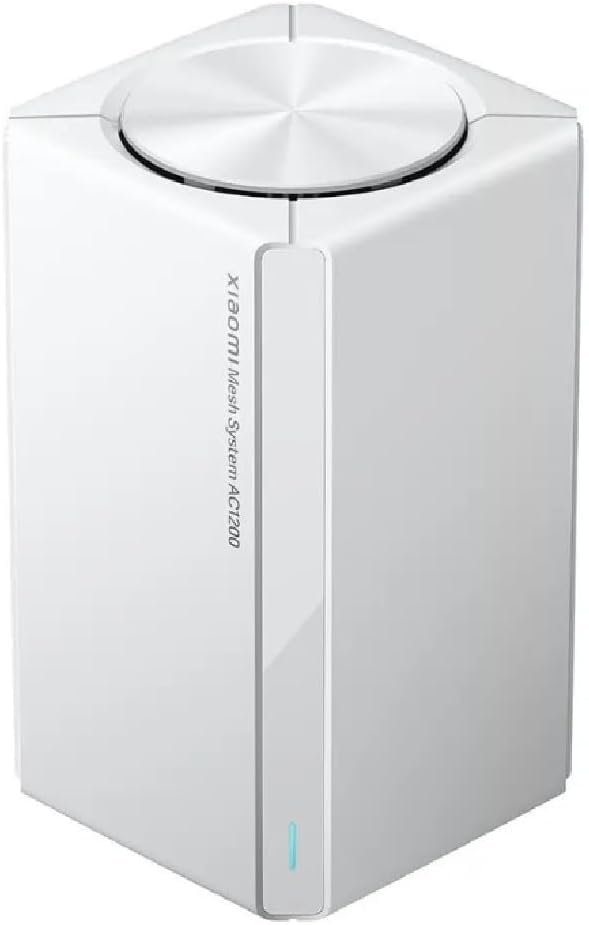
- Router & Wi-Fi Setup: The router is placed in a central indoor location for optimal coverage, and optional mesh nodes or access points can be added for larger properties.
- Network Testing & Handover: Installers run real-time speed and latency tests, clean up the work area, and guide you on how to monitor your network via the app.
What to Expect
- Duration: Most standard installations take between 1 to 3 hours depending on roof access and cable complexity.
- Requirements: You only need a standard indoor electrical plug socket for power.
- Additional Costs: Mounting accessories and extra-long cables are usually purchased separately from the basic hardware kit
- Service charge varies depending on location and site assesment.


Reviews
There are no reviews yet.